190 Montauk: Adding Cleats
Posted: Mon May 28, 2018 11:34 am
I didn't like securing our 2017 190 Montauk to the dock using only the bow and stern cleats. I have seen other 190 Montauk boats with cleats added forward. I contacted Sue Lodel at Beacon Marine, and she happens to have the same boat, and added cleats to her boat. I ordered the cleats and hardware from Beacon Marine, and I finally got the courage to drill into my boat this weekend.
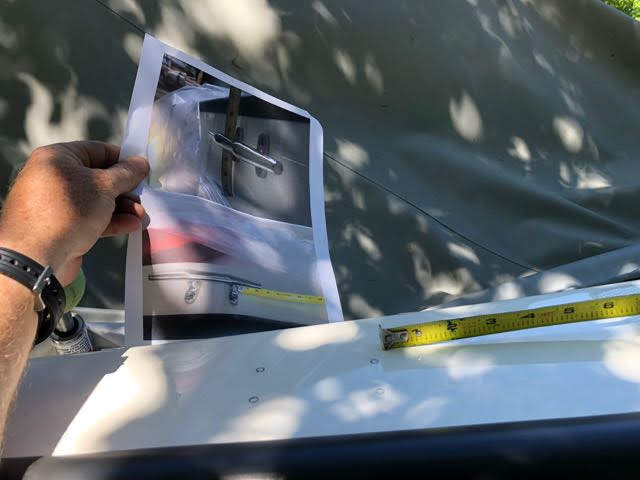
Sue was a great help, as she sent pictures of the exact mounting location showing the cleat with a ruler in the picture! Big thanks, Sue!
Quick summary:
1 - buy cleats and hardware. Screws are stainless 1/4-inch, 20 pitch
2 - locate correct location so you are securing to the Whaleboard area - in my case, about 6.25-inch behind non-skid area of deck
3 - mark four holes for cleat
4 - drill pilot hole with small bit
5 - use #7 drill bit for the tap to the correct depth
6 - tap with 1/4-20 tap
7 - use 3M 4000 UV sealant and attach cleat
Picture:
Here is a picture of me holding Sue's pictures to locate the cleat in the correct position:
[Nota bene: there were three links to images that did not produce any images, and the links were deleted.--jimh]
Sue was a great help, as she sent pictures of the exact mounting location showing the cleat with a ruler in the picture! Big thanks, Sue!
Quick summary:
1 - buy cleats and hardware. Screws are stainless 1/4-inch, 20 pitch
2 - locate correct location so you are securing to the Whaleboard area - in my case, about 6.25-inch behind non-skid area of deck
3 - mark four holes for cleat
4 - drill pilot hole with small bit
5 - use #7 drill bit for the tap to the correct depth
6 - tap with 1/4-20 tap
7 - use 3M 4000 UV sealant and attach cleat
Picture:
Here is a picture of me holding Sue's pictures to locate the cleat in the correct position:
[Nota bene: there were three links to images that did not produce any images, and the links were deleted.--jimh]